Custom POI's on a Garmin GPS
 One thing I have found very useful on the Garmin GPS is being able to load your own custom POI's (Points of Interest). These custom POI's can show the location on your GPS of anything from campsites to Starbucks cafes. You can download POI files from various web sites, some are free and some you will have to pay for (see list of links below) or if you have the GPS co-ordinates of a series of way points and know anything about spreadsheets you can create your own .csv or .gpx custom POI files.
Remember that Garmin maps already come with certain POI's installed and you may be duplicating when installing some custom POI's. Also be a bit selective as to what custom POI's you do install as each one has its own custom icon and your GPS screen can get a bit cluttered with too many icons if you are not careful.
Custom POI links
Below is a step by step guide to installing custom POI's, it is pretty much the same process for all Garmin GPS's that support the addition of custom POI's.
Downloading and installing the Custom POI's
- In order to install the custom POI's onto your Garmin GPS you will need to have a copy of Garmin's 'POI loader' installed on your computer. It is available as a free download from the Garmin site for Macs and for windows PCs from here.
- You will then need to download your POI file from one of the many POI sites. A good example that is useful for cycletouring is the POI files from archiescampings.eu which give all the locations of all the campsites in Europe. We will use this as an example. These files usually download as a compressed zip file, if your computer doesn't automatically unzip them on download you will need to use something like 'StuffIt Expander' on the Mac or 'winzip' on a PC to decompress the files first.
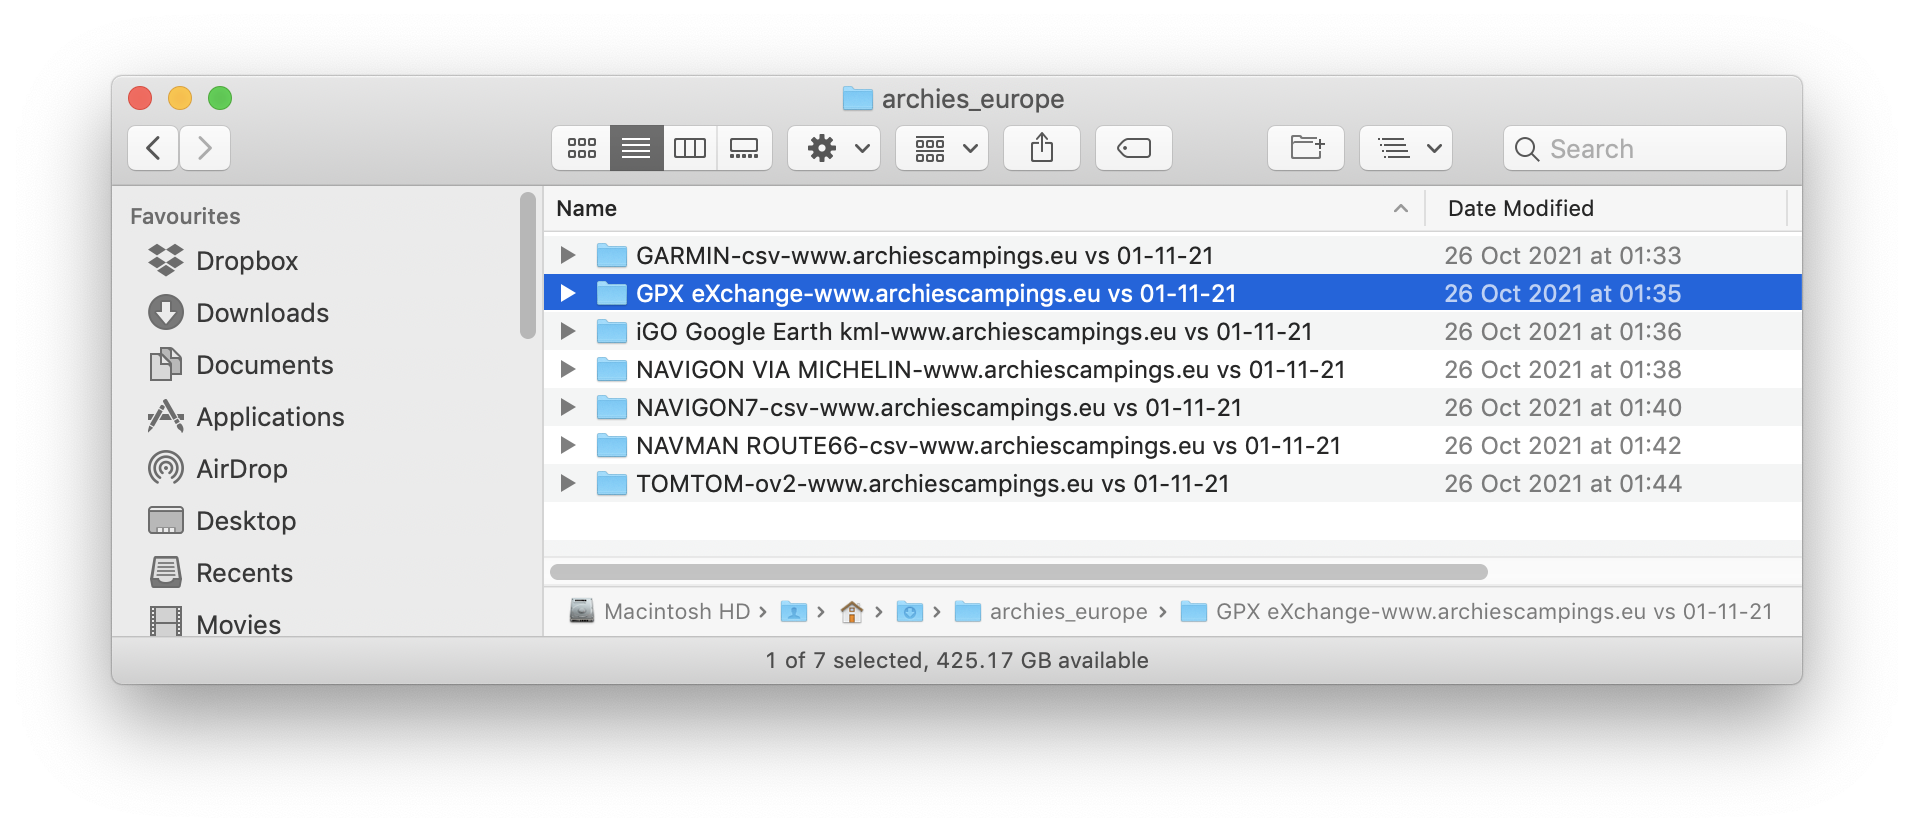
- When you have expanded the zip file you will find that you have a folder called 'Archies_europe' with several folders inside for various GPS formats. The two files that will work on Garmin GPS's are the files in both the 'GARMIN-csv-www.archiescampings.eu vs 01-11-21' and 'GPX eXchange-www.archiescampings.eu vs 01-11-21' folders.
- Once you have downloaded your files you will need to connect your GPS to the computer using the USB cable and open up the Garmin 'POI' loader application.
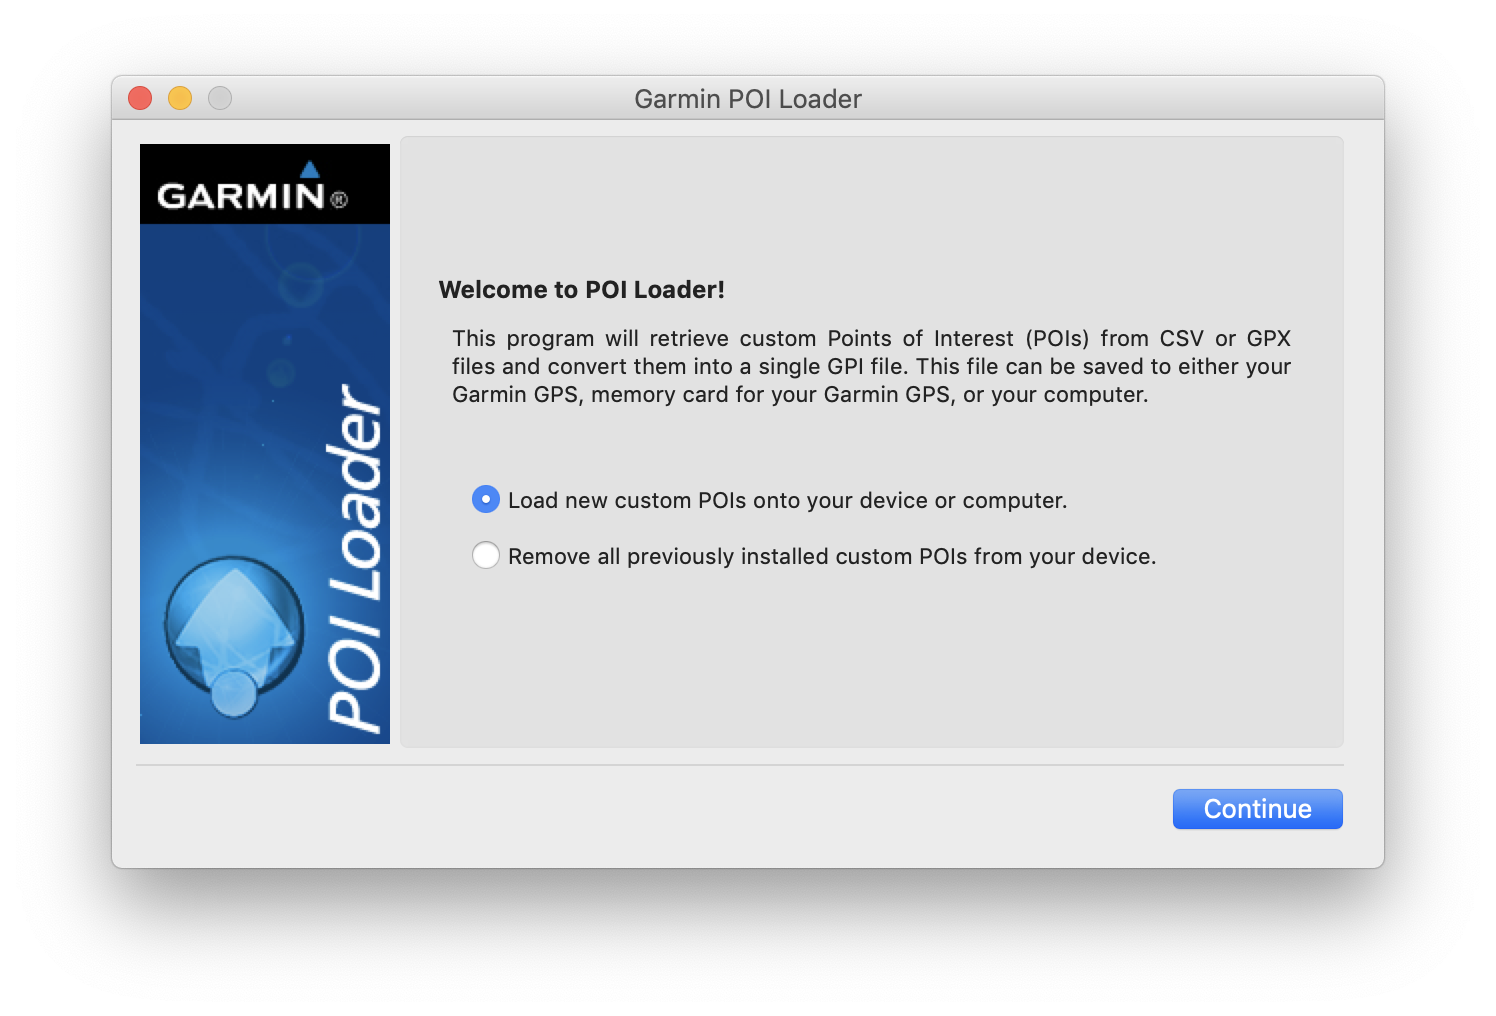
- Make sure 'Load new custom POIs onto your device or computer' is selected and click 'Continue'.
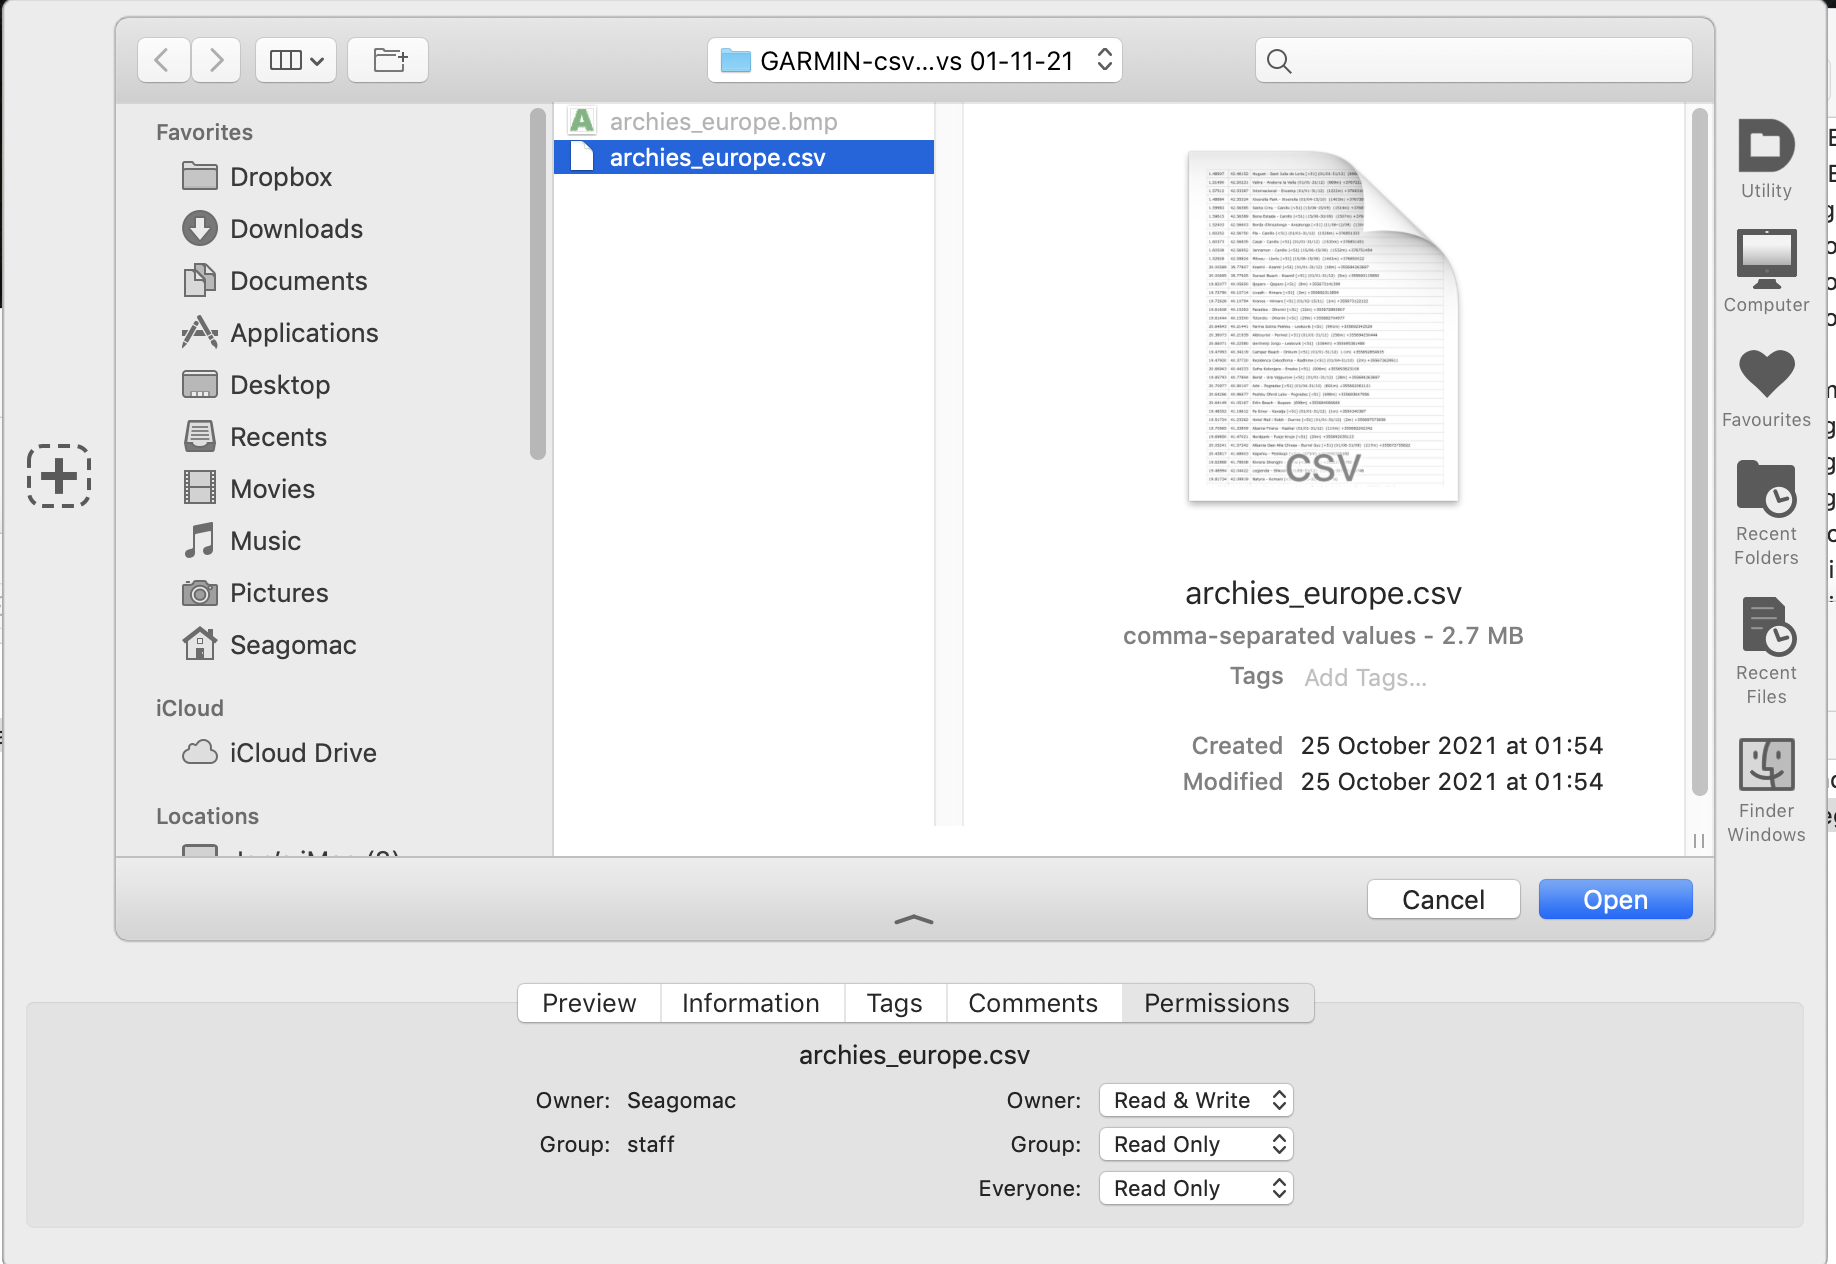
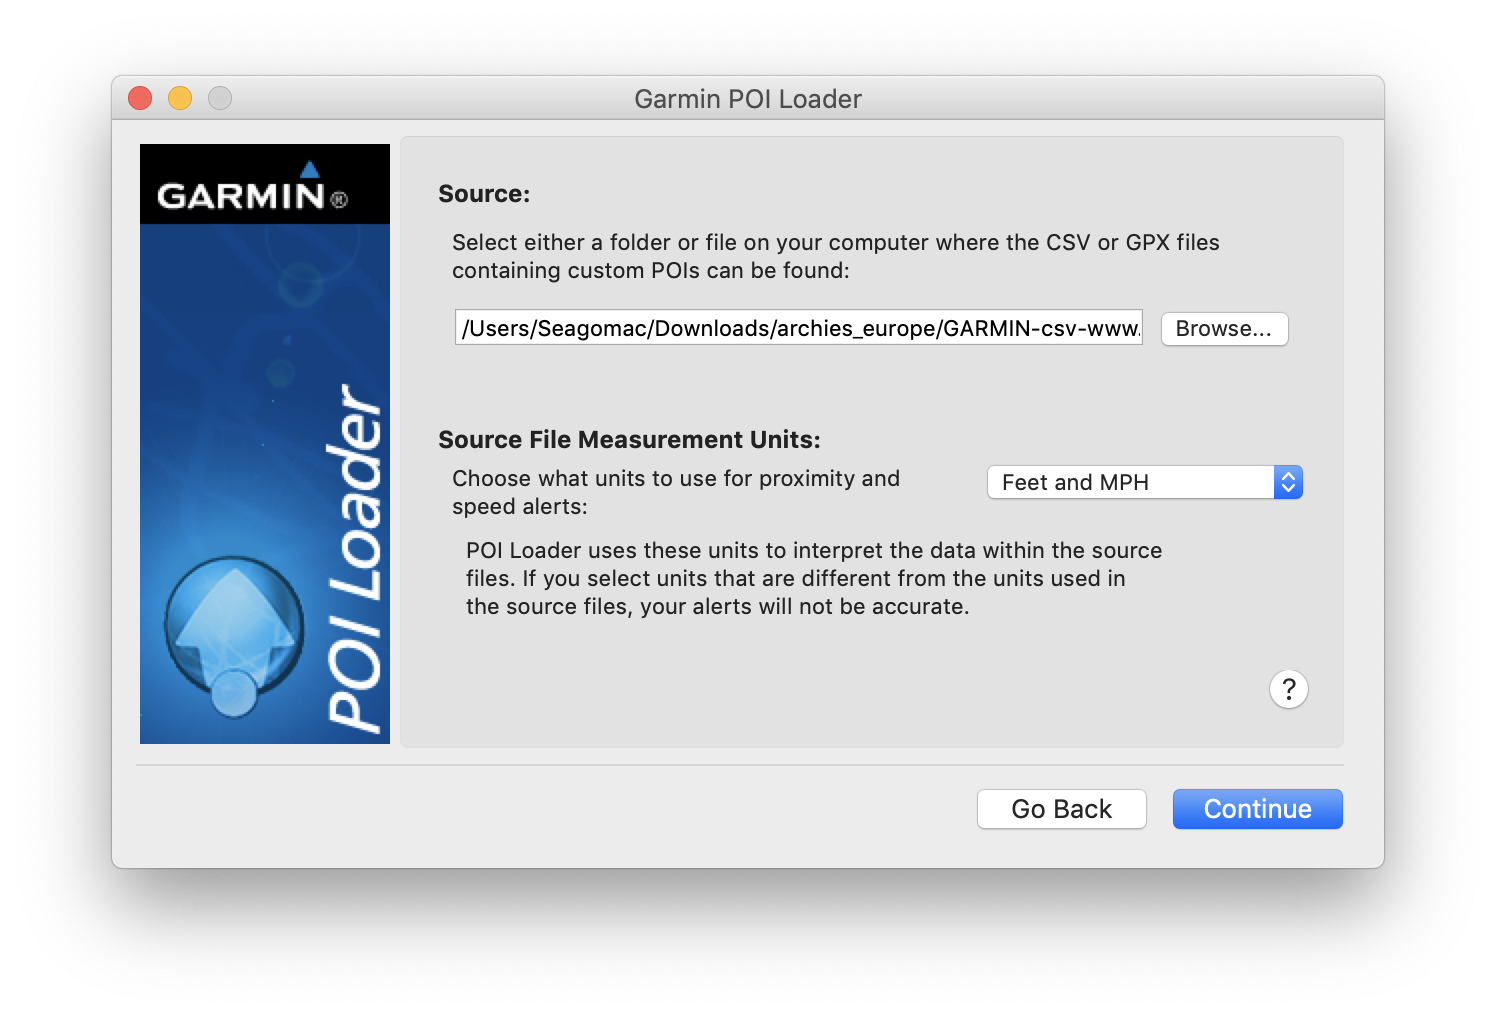
- You will then need to click on the 'Browse' button and navigate to the folder with your custom POI's in it and select the POI file to import into your Garmin GPS, then click 'Open'.
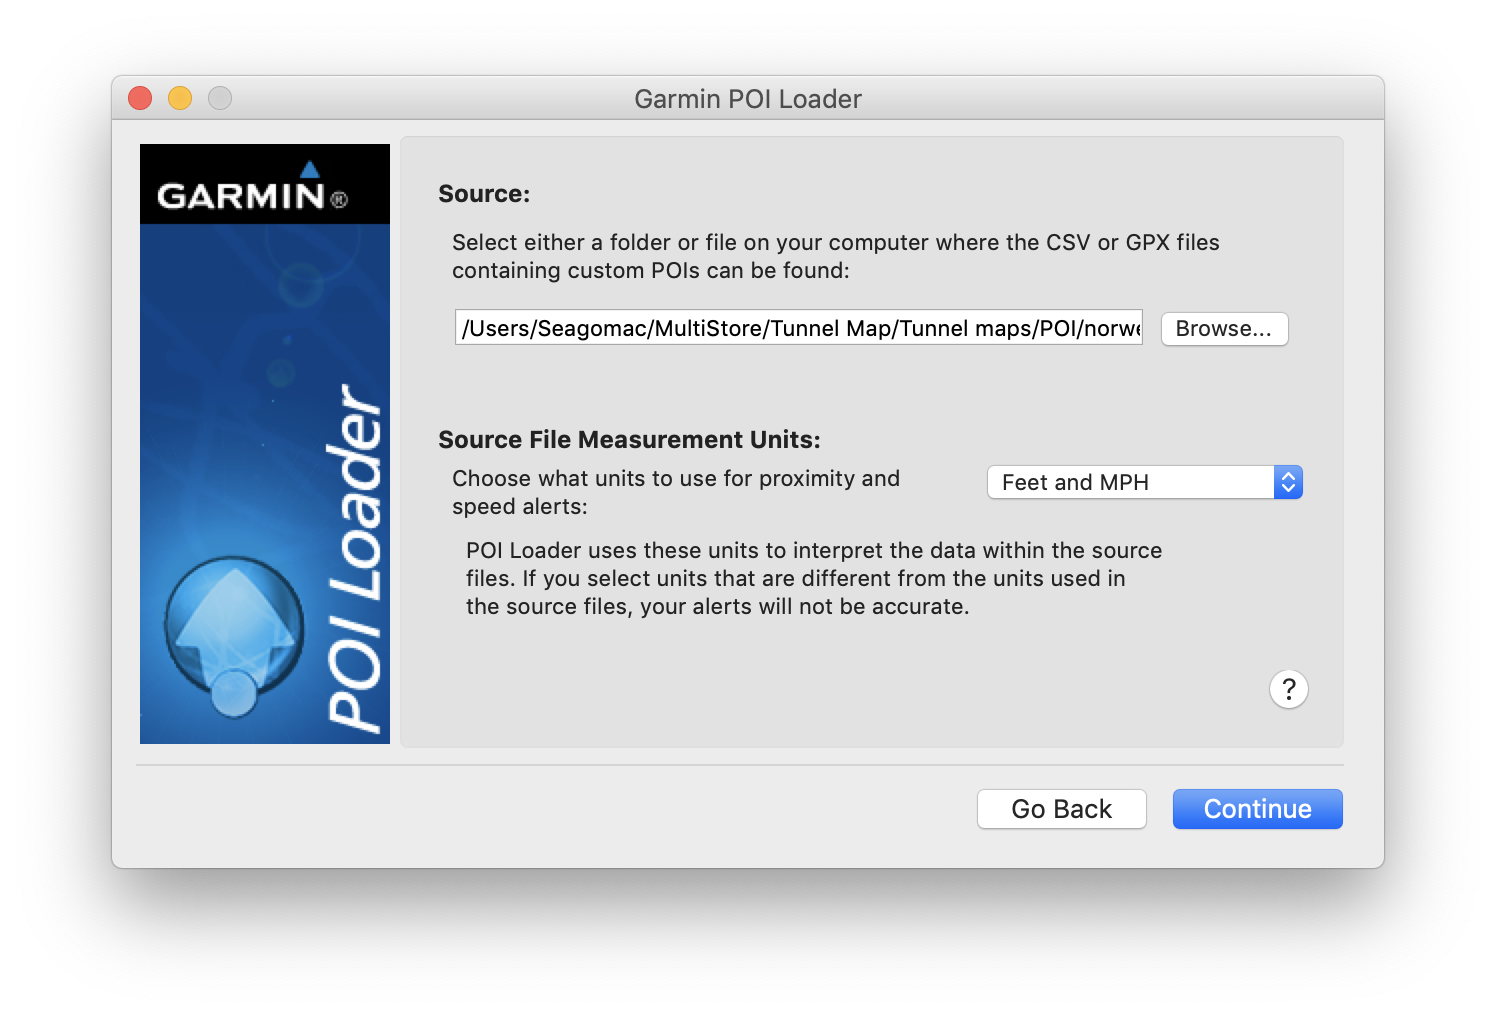
- You can leave the Source File Measurement Units for distance and speed as they are, unless you are installing speed camera POi's and click continue.
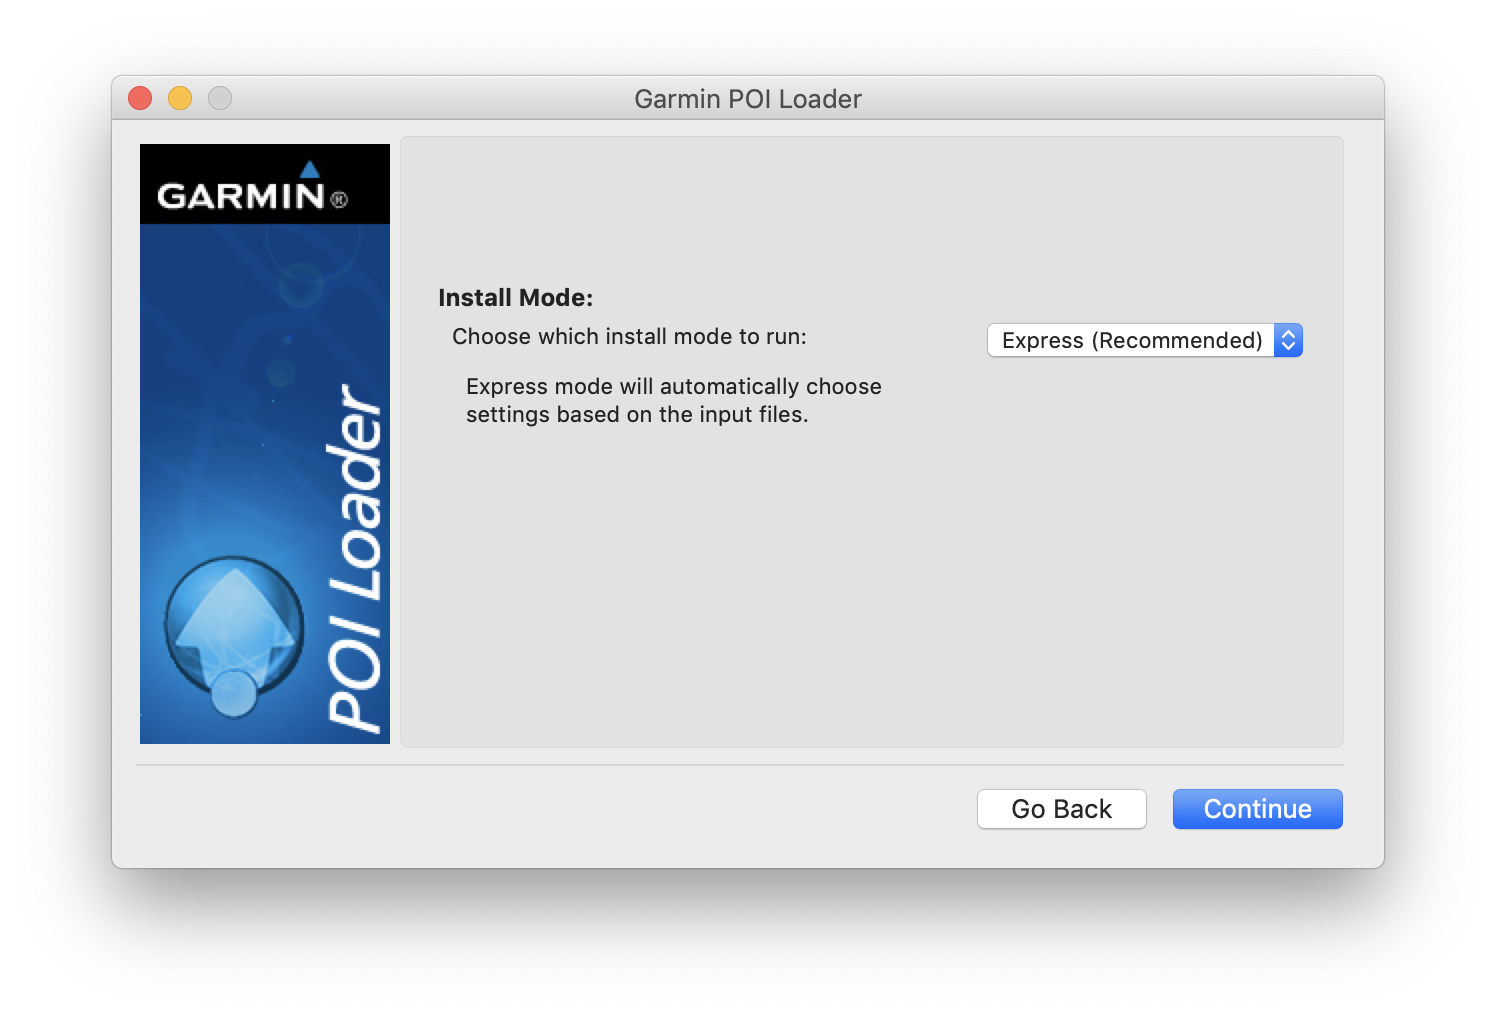
- On the next dialogue box leave it on Express install and click 'Continue'.
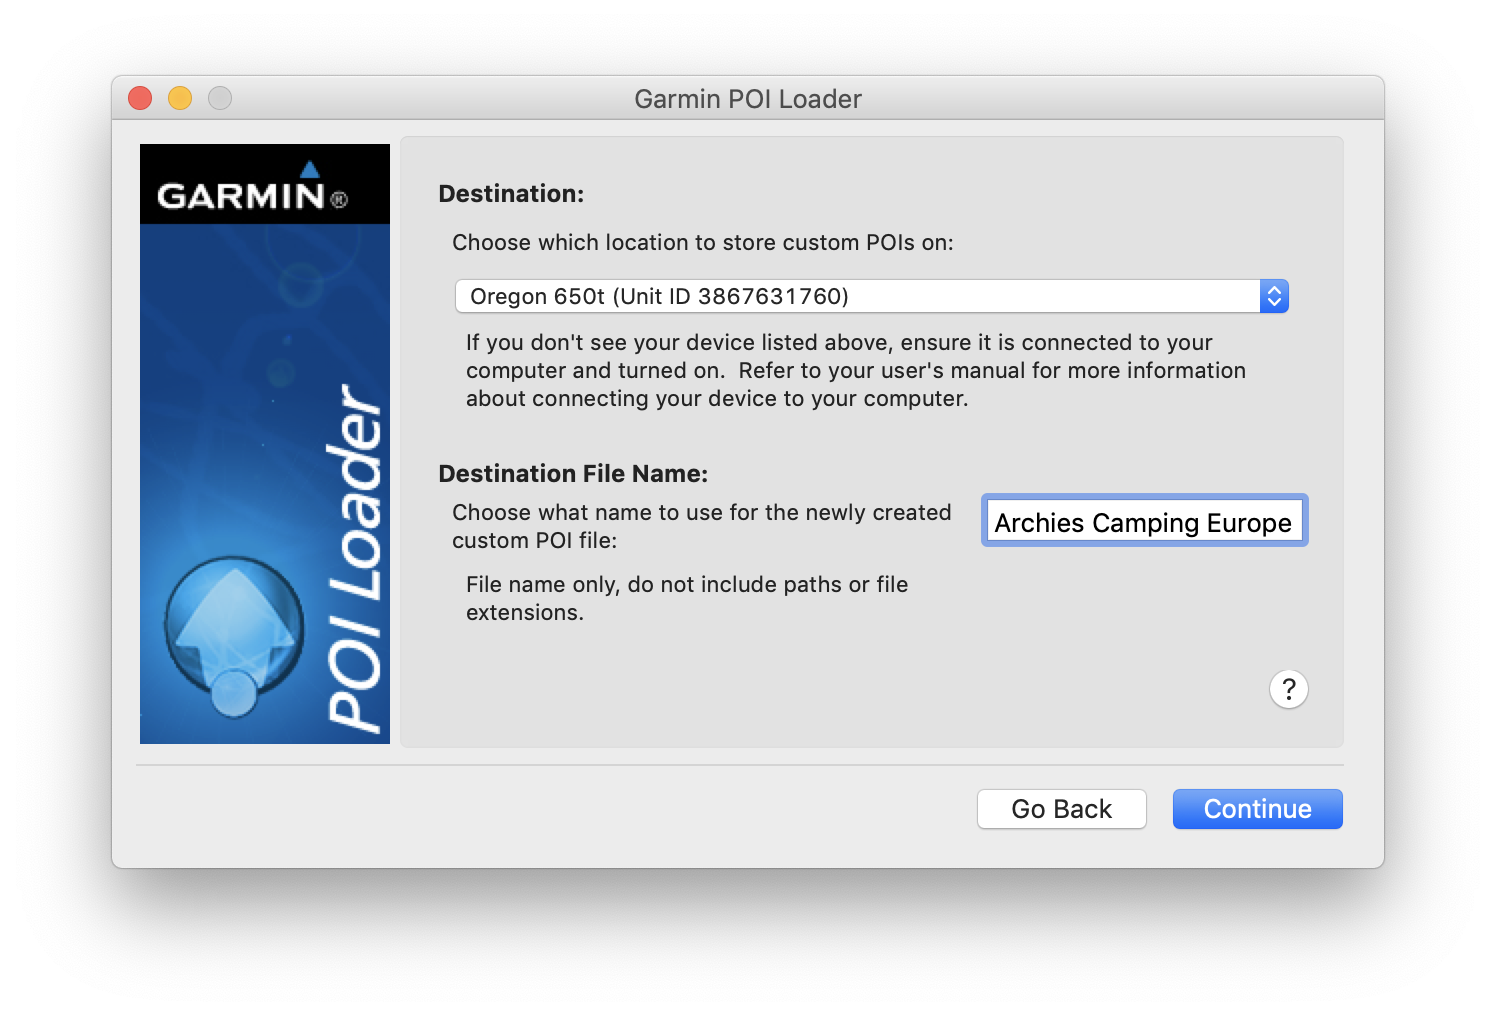
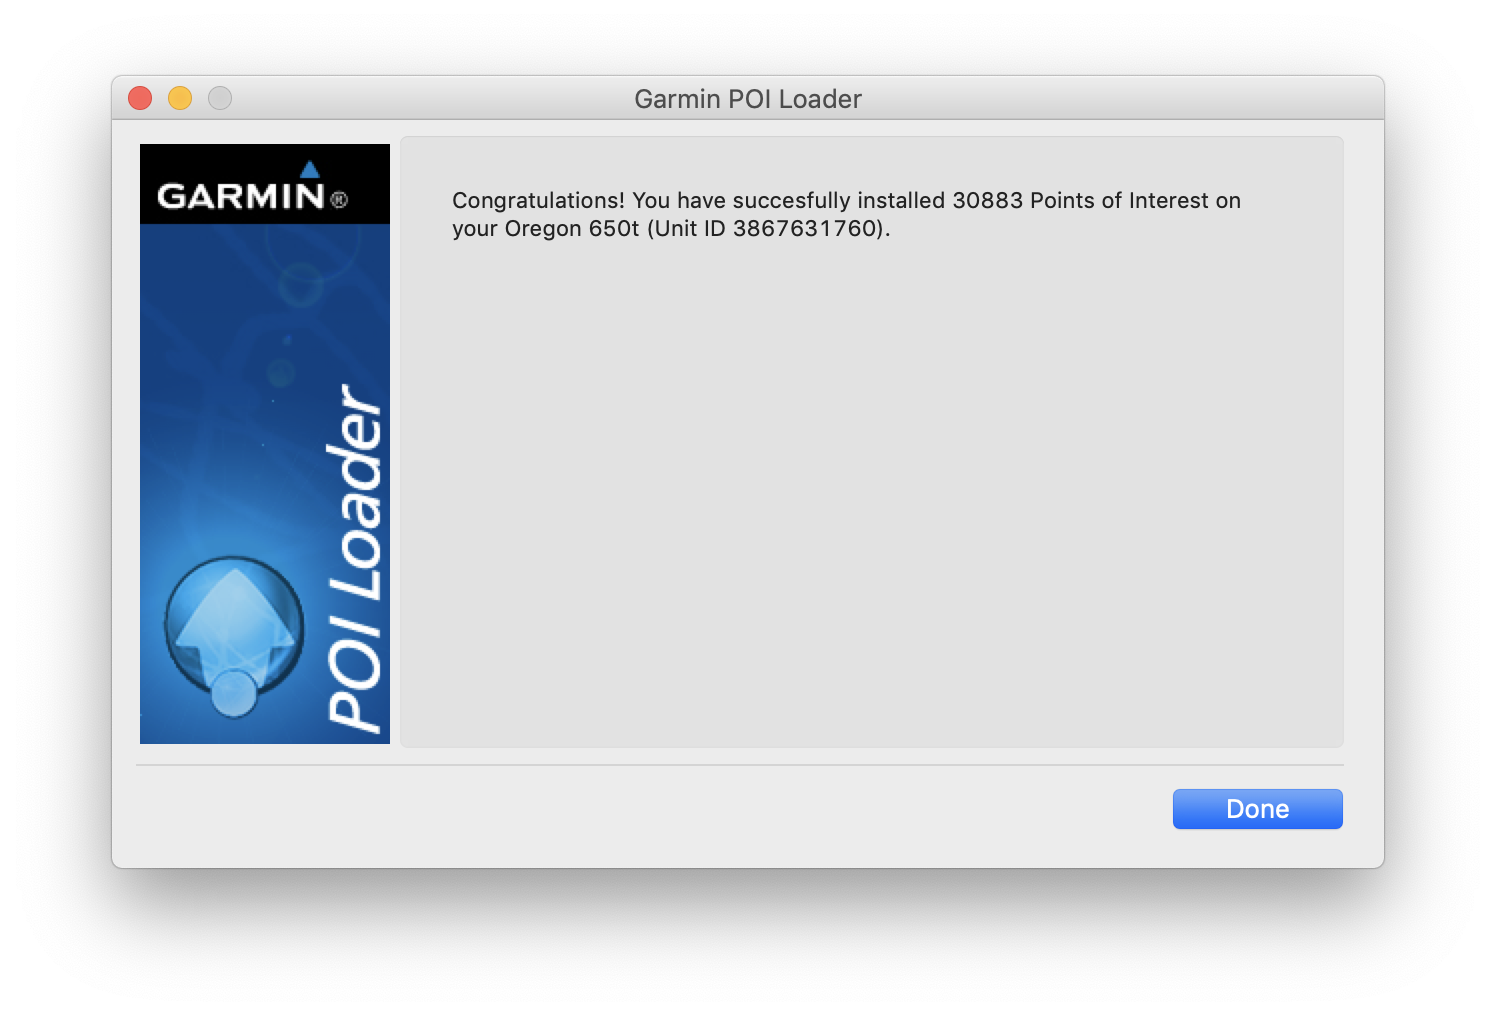
- If everything is OK you should get this successful dialogue.The custom POI's should now be installed on your GPS. Click 'Done' and disconnect your GPS.
Setting the zoom level at which the Custom POI's will appear on the screen.
You can set the zoom level at which the custom icons will appear, this is useful to avoid too much clutter on the screen at higher zoom levels.
 1. To do this go to the 'Main menu' and use the joggle switch to select 'Setup'.
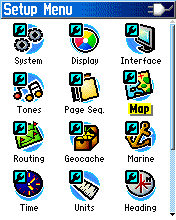 2. Then in the 'Setup Menu' use the joggle switch to select 'Map'.
 3. Then use the joggle switch to move to 'Map points' and click 'Enter', then use the joggle switch to move up and down the scale to select the zoom level. Once you have set the zoom level click the 'Quit' button on the right hand side top several times to get back to the map.
Updating the POI files
Remember when you wish to update or add any additional custom POI files you will need to copy these to your generic folder that you created in step 4. If you in step 8 simply point to another folder it will only install the custom POI's in that folder and overwrite all the others previously installed.


 The Celtic Cycling Circle
 Cycling alongside the Grand Union Canal
 5 Essential Items to Take with You on Your First Cycling Tour
 Favorite Cycling Destinations: Sardinia
 Pamir to Karakoram- cycling the highways on the roof of the world
 4 Wheels 2 Hearts 1 World - A Day in Our lives
 Koga E-Worldtraveller - e-bike review
 Ten tips for tandem cycle touring
 colmandsamstreks - Two Beginners in France